January 2018, Red Hat acquired CoreOS for 250 million dollars 🤩. CoreOS was one of the leading companies of Linux & Containers market with their wide offer of products:
- CoreOS Tectonic: container application platform based on Kubernetes.
- CoreOS Container Linux: lightweight Linux distribution designed to run containerized applications.
- CoreOS Operators Framework: an open source toolkit designed to manage Kubernetes native applications.
- CoreOS Quay: a container registry for building, storing, and distributing your private containers.
- CoreOS rkt: an application container engine developed for modern production cloud-native environments.
- even more and more..
Red HatOpenShift 3.x was facing many big problems especially in installations and upgrades. It was a real nightmare to install an OCP Cluster. I never heard an OCP Admin talking about upgrading OCP without discussing the problems that they faced. Personally, I worked for two customers from 2017 to 2019 that adopted OCP, and when it comes to cluster upgrades they were dedicating time and they were bringing people from Red Hat to help them do that 😂 Although, the upgrades were guaranteed by Red Hat in all technical and commercial announcements.
At that moment, CoreOS’s Kubernetes platform, called Tectonic, had already a great feature that made it less disturbing: the one click upgrades 🤩 ! Yeah ! I remember the first time I installed a Tectonic cluster (v1.7). I tried to upgrade it to v1.8 with the one click upgrade button in the management console.. and every thing worked like a charm ! 🥳 I felt that it was a kind of a joke, or that were something wrong 🤪🤪
Red Hat OCP was not suffering only from hard installations and upgrades.. it had many issues with the dedicated Docker Registry.. personally, I got it crashed many times, and I remember it also crashed when I was sitting for the OCP Certification that I failed 😂 At the same moment, CoreOS Tectonic is embedding the Quay Containers Registry 😁
This led Red Hat to go fast in acquiring CoreOS.. and they started at the same time talking about OpenShift 4.0 😁
May 1st, 2019, the OpenShift 4.1 was released. Yeah ! There was no 4.0 version for some reasons 😆
Great! What did OpenShift 4.1 bring new ?
OpenShift 4.1 new features
OpenShift brings many great features, starting of the version 4.1 :
Installation : a wizard will cover all the installation process steps and heavy tasks. No more painful installation experience ! 👈 CoreOS Tectonic feature 😎
Upgrade: the process will be easily done via a one-click operation from the administration console. No more headaches ! 👈 CoreOS Tectonic feature 😎 NOTE: Upgrading from the 3.x to 4.x is not possible, obviously 🤓
Red Hat Enterprise Linux CoreOS: immutable OS more suitable for containerization and easily manageable ! No more RHEL administration fever ! 👈 CoreOS Tectonic feature 😎
Operators: An Operator is a method of packaging, deploying and managing a Kubernetes application. A Kubernetes application is an application that is both deployed on Kubernetes and managed using the Kubernetes APIs and kubectl tooling. 👈 CoreOS Tectonic feature 😎
Now, most of the OpenShift’s components are now Operators:
- The registry is now managed by an Operator
- The networking is now configured and managed by an Operator. The Operator upgrades and monitors the cluster network.
- The cluster autoscaling is now handled by an Operator. The Operator
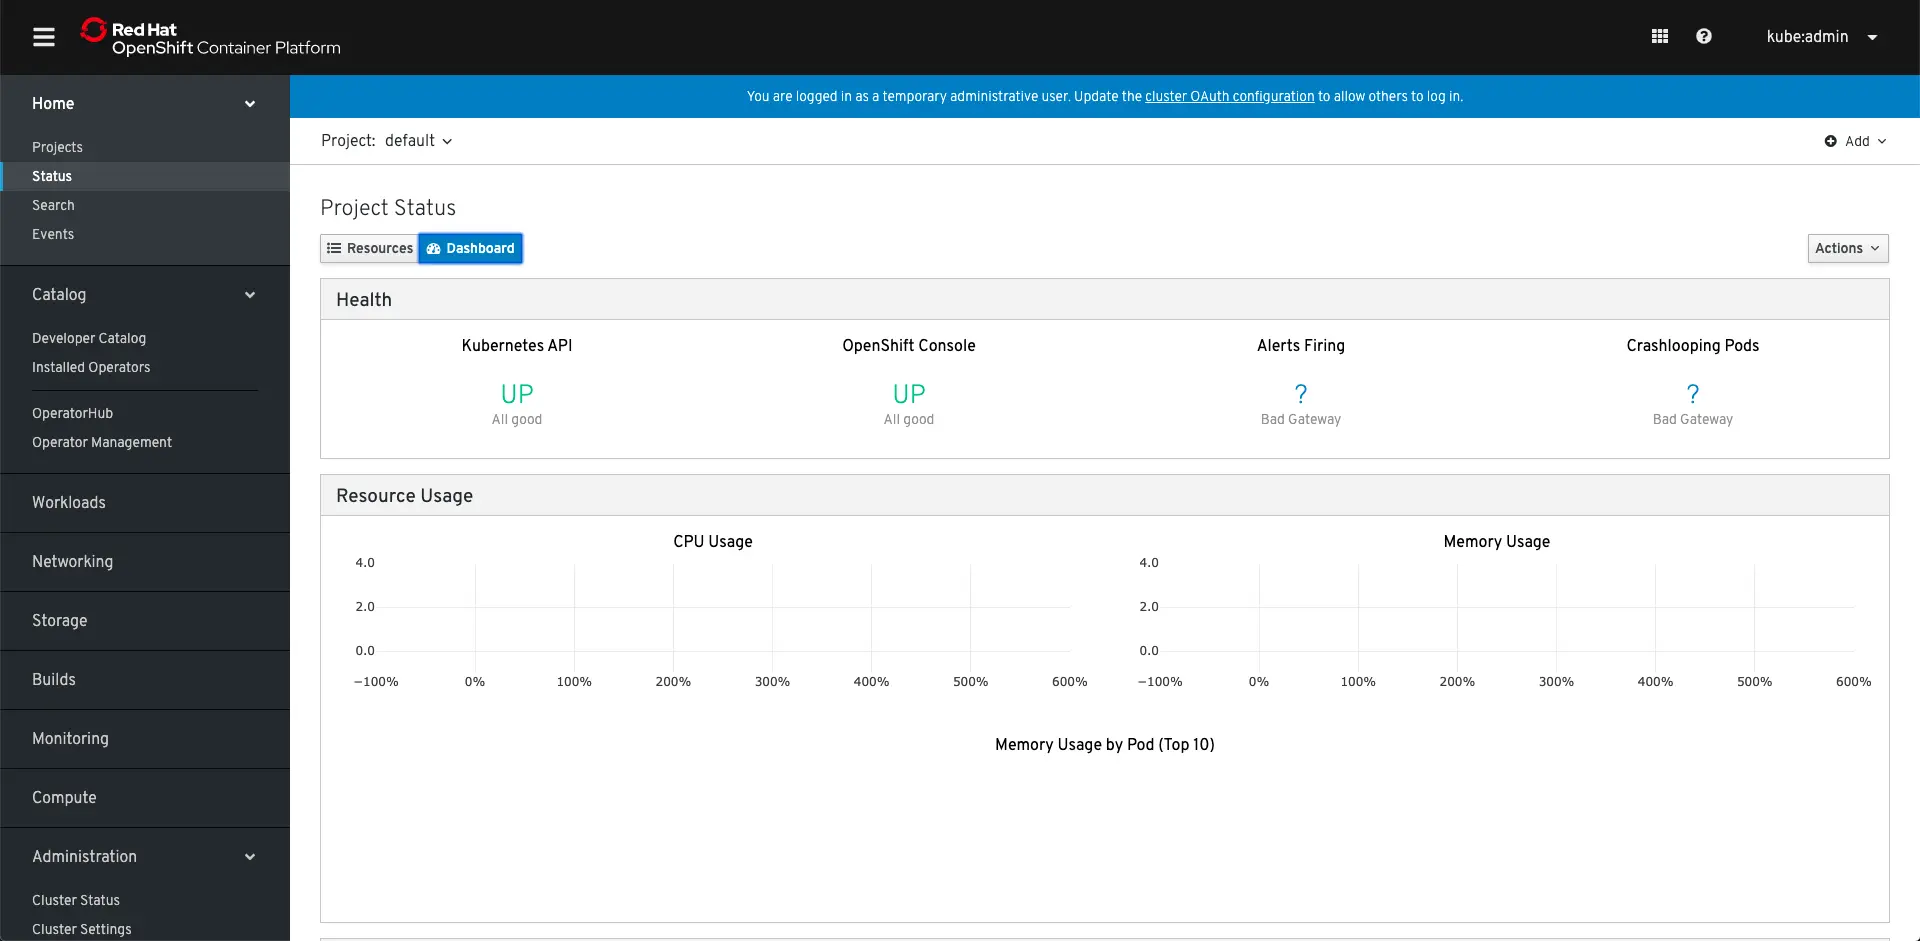
Enhanced Web console: The new release offers a great revisited Web Console and redesigned Developer Catalog that brings all of the new Operators and existing broker services together, with new ways to discover, sort, and understand how to best use each type of offering. There are also many new management screens that come with the new features.
- Developer Experience: Red Hat brings a new tool called Code Ready Containers, a local desktop instance of OpenShift Container Platform 4.1 replaces the functions of
oc clustercommands, Minishift, and CDK. OpenShift Container Platform 4.1 focuses on ease of access and native experience, with a native installation program on macOS and Microsoft Windows, native hypervisor support, and tray icon integration.
There are many great incoming features, like the Red Hat OpenShift Service Mesh that we have been waiting for long time 🥳
Playing with OpenShift 4.1 Locally
In the OpenShift 3.x era, we had the great Minishift tool that enables developers to have a local OpenShift Cluster. But as we listed before, OpenShift 4 come with a new tool called Code Ready Containers (aka CRC), that will bring a minimal OpenShift 4.0 or newer cluster to your local laptop or desktop computer.
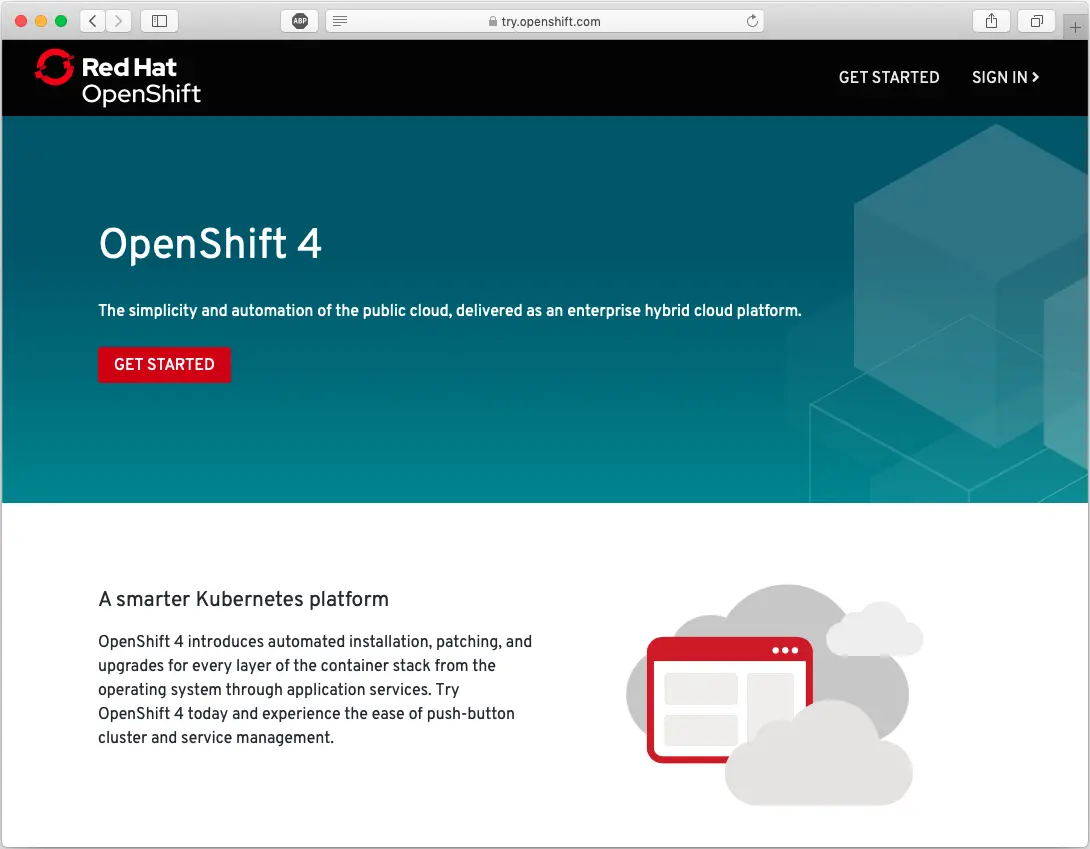
To install the CRC, you need to go to try.openshift.com and click on Get Started:
Next, you need to log in your Red Hat account; If you don’t have one, you can create it for free in less than 2 minutes.
Next, you will be redirected to the Red Hat OpenShift Cluster Manager dashboard:
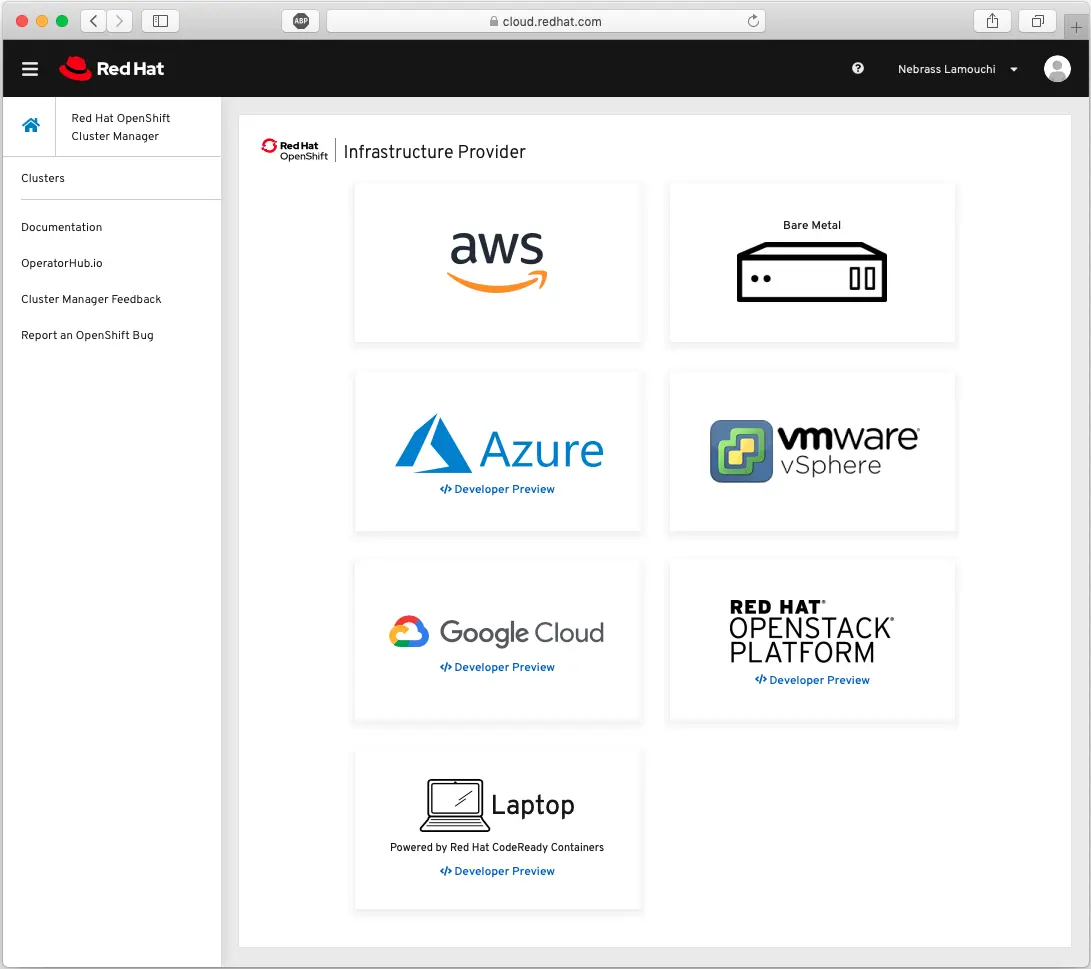
From this screen, you can create a cluster on many Cloud provider (Aws, Azure, etc..) or even on your dedicated servers; or on your Laptop, which is what we want to do 😁
Next, click on Laptop button to access the download section:
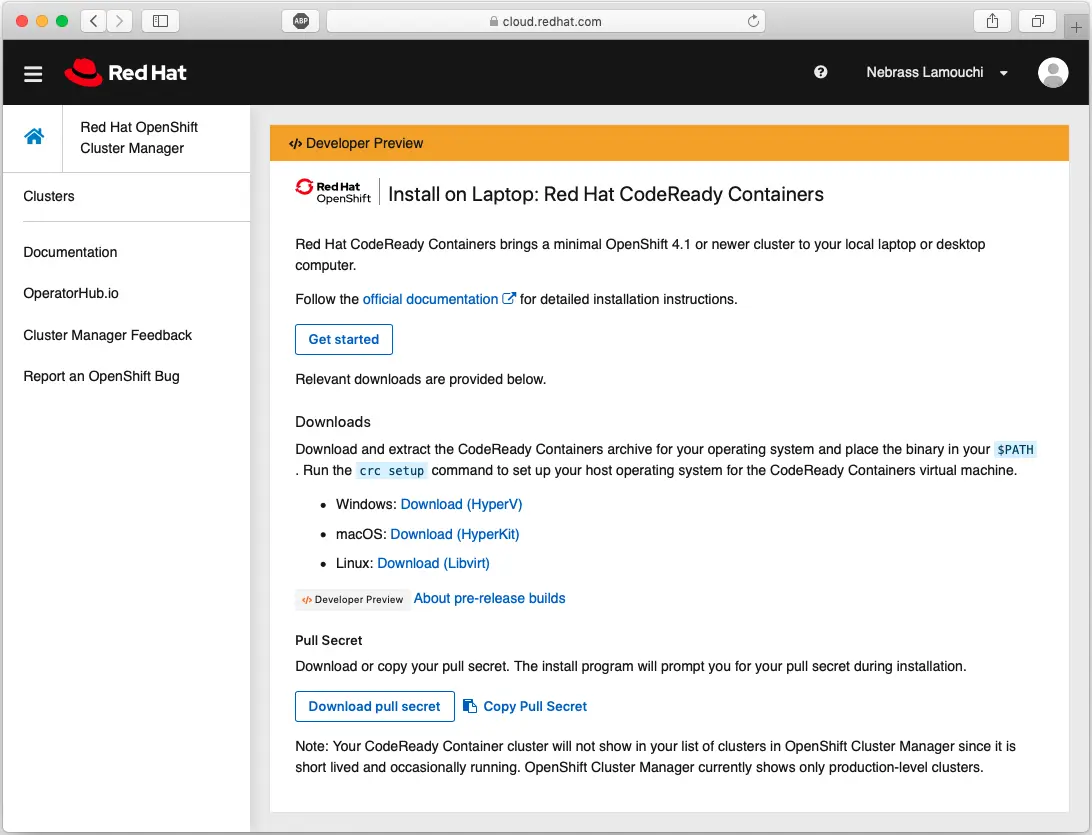
In this screen, you need to download the CRC binaries and the Pull secret, which is a Red Hat credentials generated for your account to authenticate the downloads that will be made by the CRC tool.
After installing the binaries. You need to place it in your $PATH .. 🤓
Next, we will start playing with the CRC.. the first command to do is
| |
Next, as mentioned in the log, you need just to type crc start to start a CRC instance 😁
| |
Now you need to past the pull secret that you grab from the Red Hat portal in the previous steps.
| |
Great ! So our CRC instance is running and we get some informations in the log:
The OpenShift CLI login command:
oc login -u kubeadmin -p 78UVa-zNj5W-YB62Z-ggxGZ https://api.crc.testing:6443The OpenShift web-console URL: https://console-openshift-console.apps-crc.testing
The OpenShift web-console credentials:
- login: kubeadmin
- password: 78UVa-zNj5W-YB62Z-ggxGZ
If you have noticed, the URLs of the web-console or the Master node URL are made based on an *.testing domain name. This is a custom DNS name that is pointing on a local IP address..
In the log of the crc setup command, there some lines handling the /etc/hosts file..
If you ping a the domain name, you will get a local IP address like mine for example: 192.168.64.3
Now, go to https://console-openshift-console.apps-crc.testing to access the OpenShift web-console:
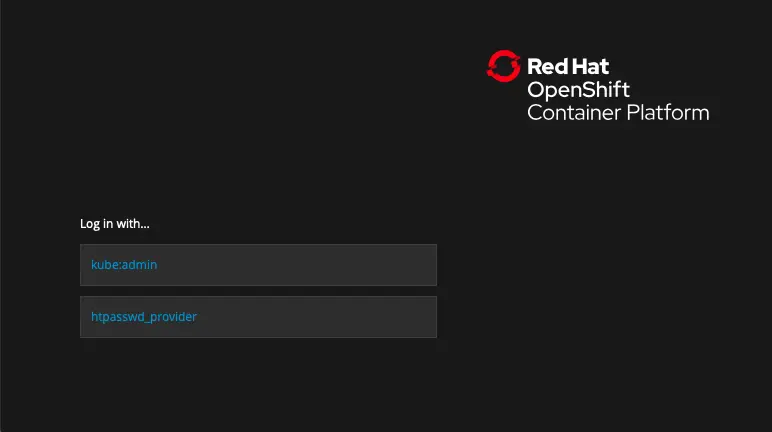
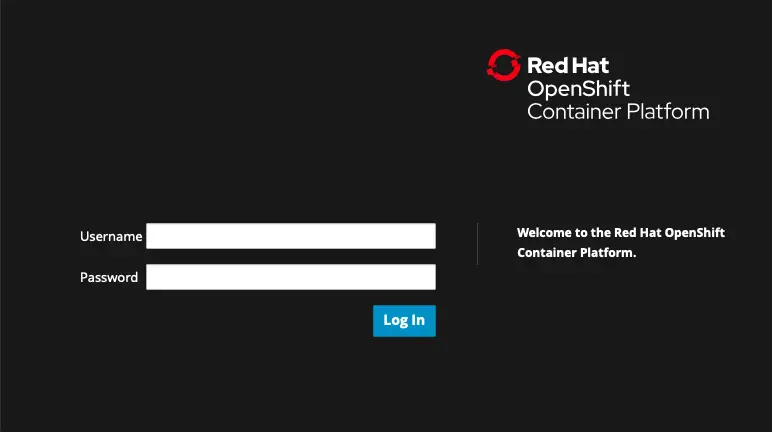
Click on the kube:admin and you need to type the credentials listed in the log of the crc start command:
Yoppa ! You will be redirected to the Web Console Dashboard:
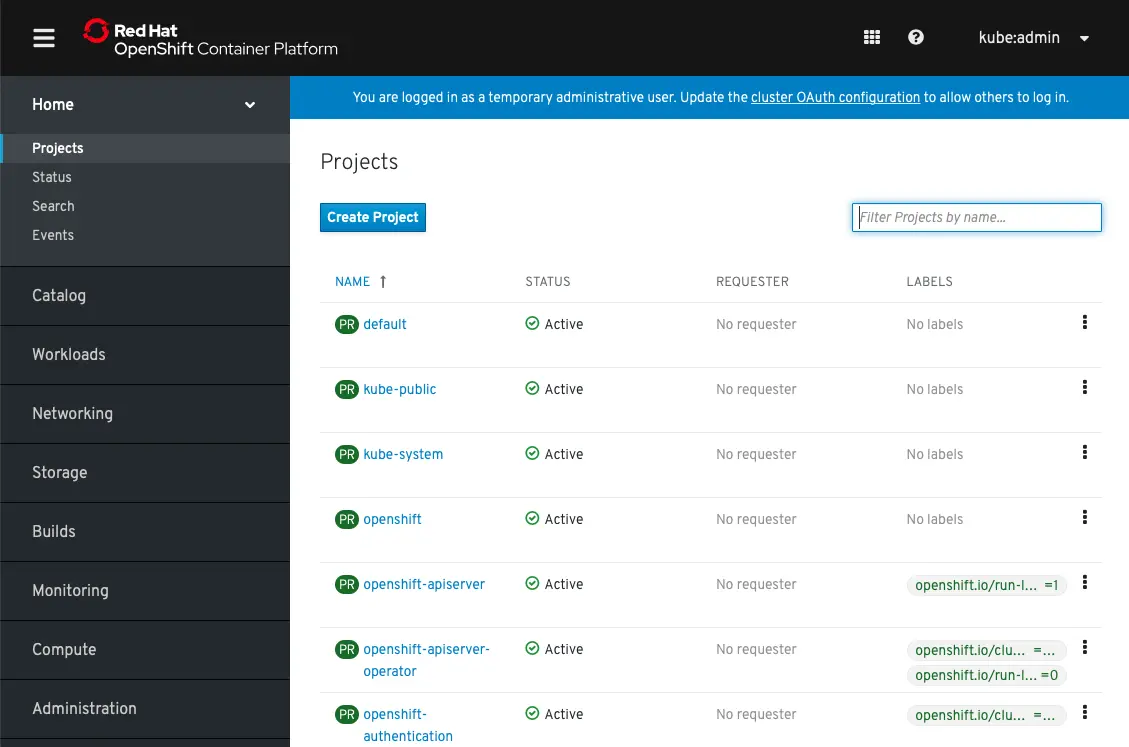
Yooopaa !🥳🤩 Now every thing is up ! 🥳🤩 Let’s deploy a sample application 😁
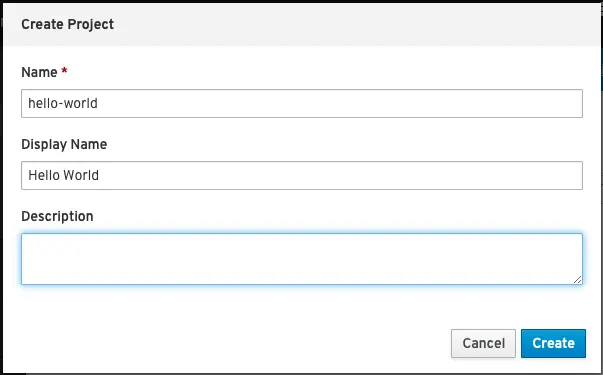
First of all, click on Create Project:
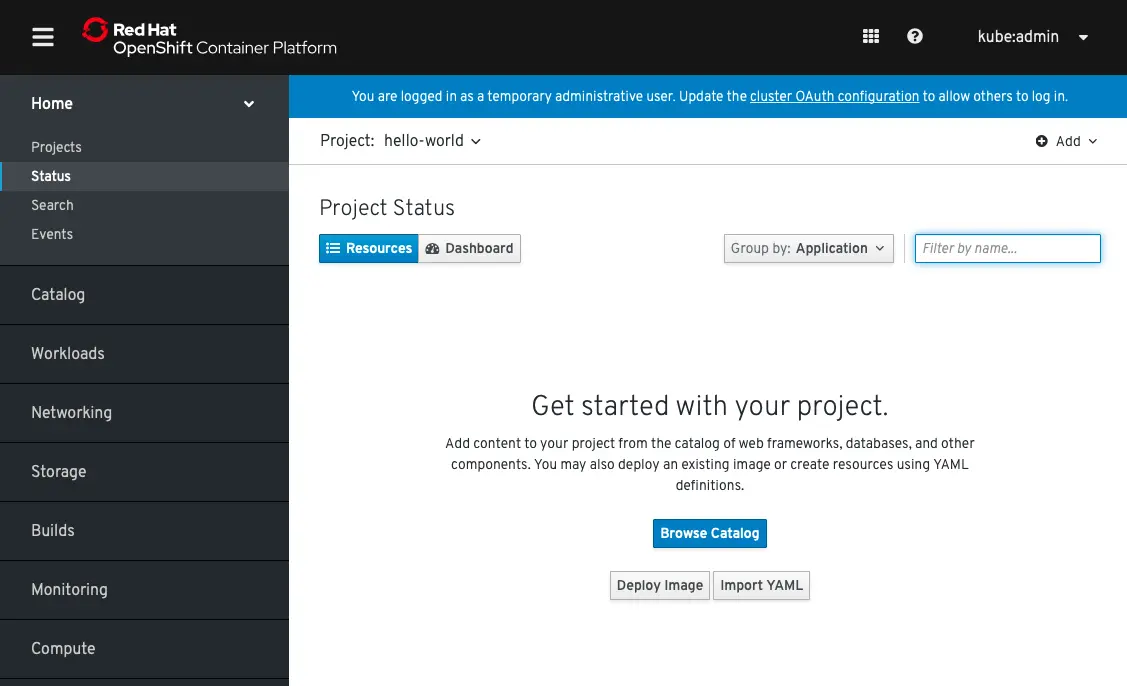
Next, click on Browse Catalog:
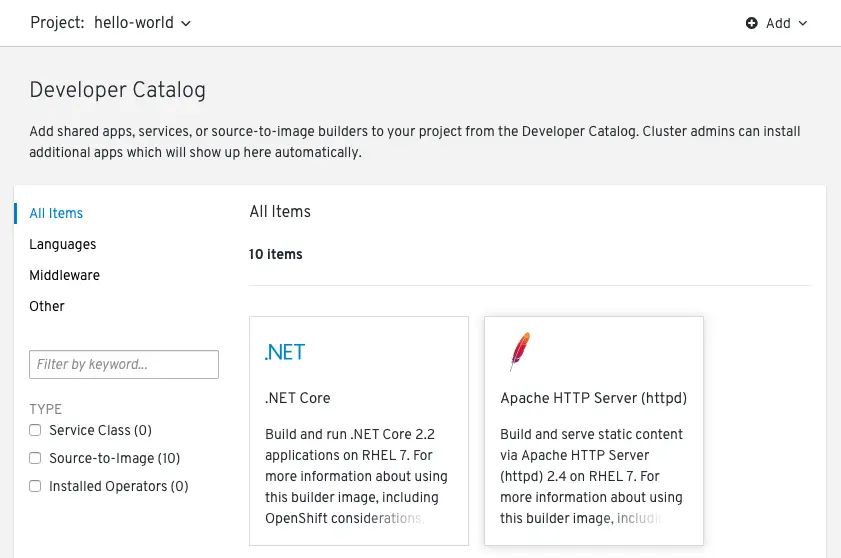
Next, choose Apache HTTP Server (httpd) and click on Create Application:
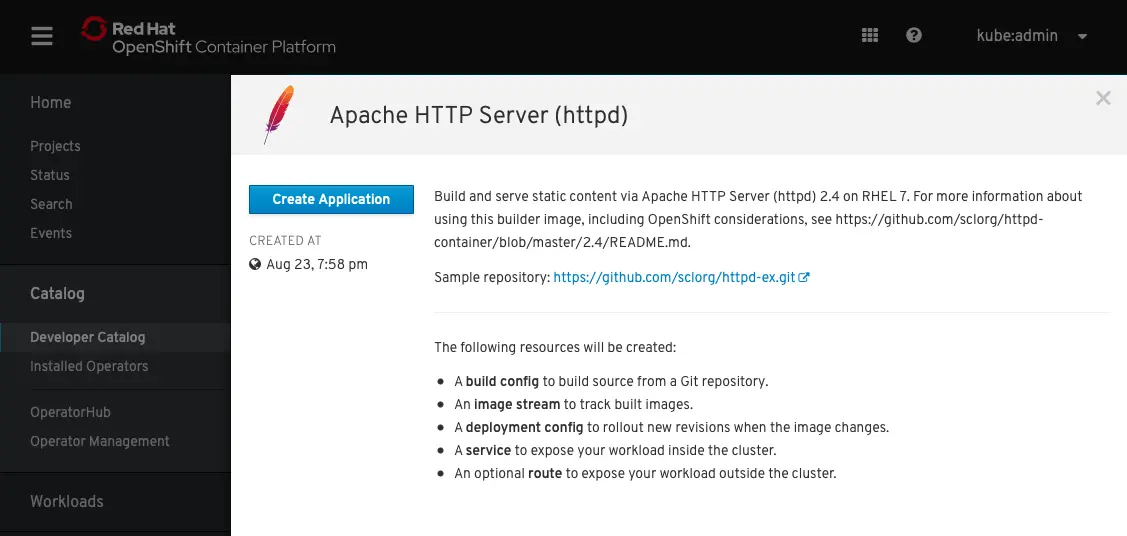
In the next form, click on the Try Sample, and tick the Create route and click Create:

Next, you will see the Project Status screen:
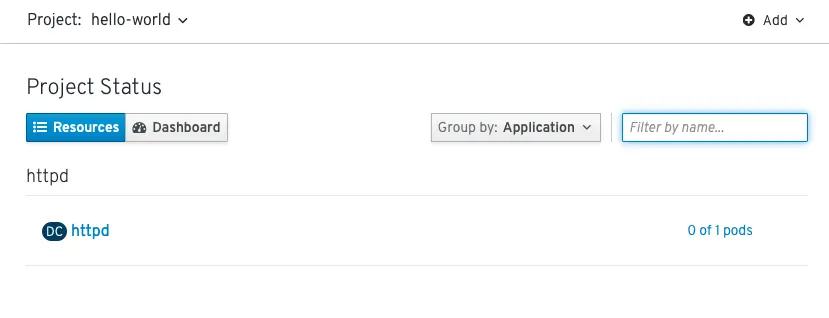
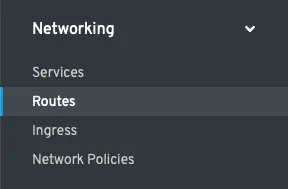
When the deployment is finished. Scroll down to in the menu and click on Routes in the Networking section:
In this screen, we will get the Route URL created for our Hello World application:
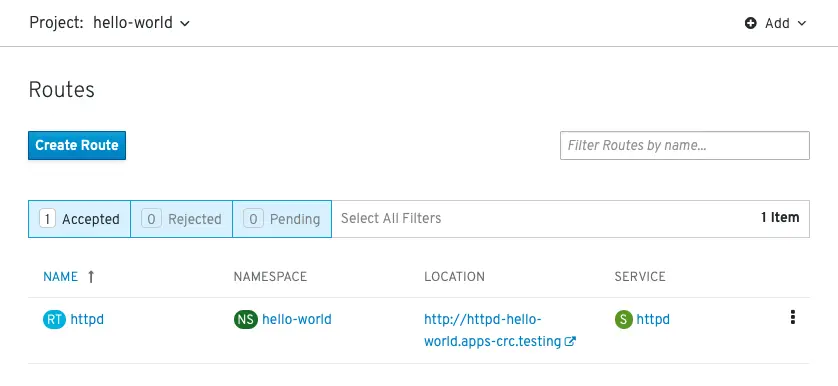
Now, click on the Location URL: http://httpd-hello-world.apps-crc.testing/ and you will see the application:
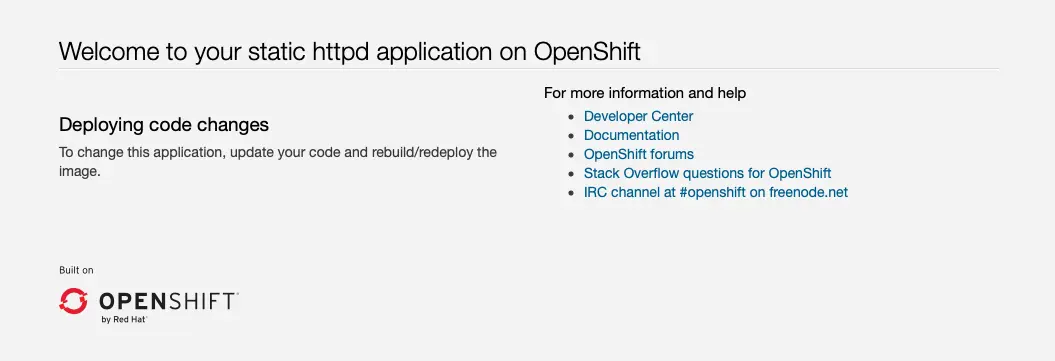
Hakuna matata ! 🥳🤩🥳
We can also enter the OpenShift command: to check if every thing is ok 🧐 This command will show the Route URL that we got before from the Web Console:
| |
Cool ! Everything is working like a charm ! Yeah ! I’m wonderful 😂
Conclusion
I’m really happy with the OpenShift 4 ! I really appreciate the product revolution ! I have the feeling that I’m dealing with a totally different product 😁
